
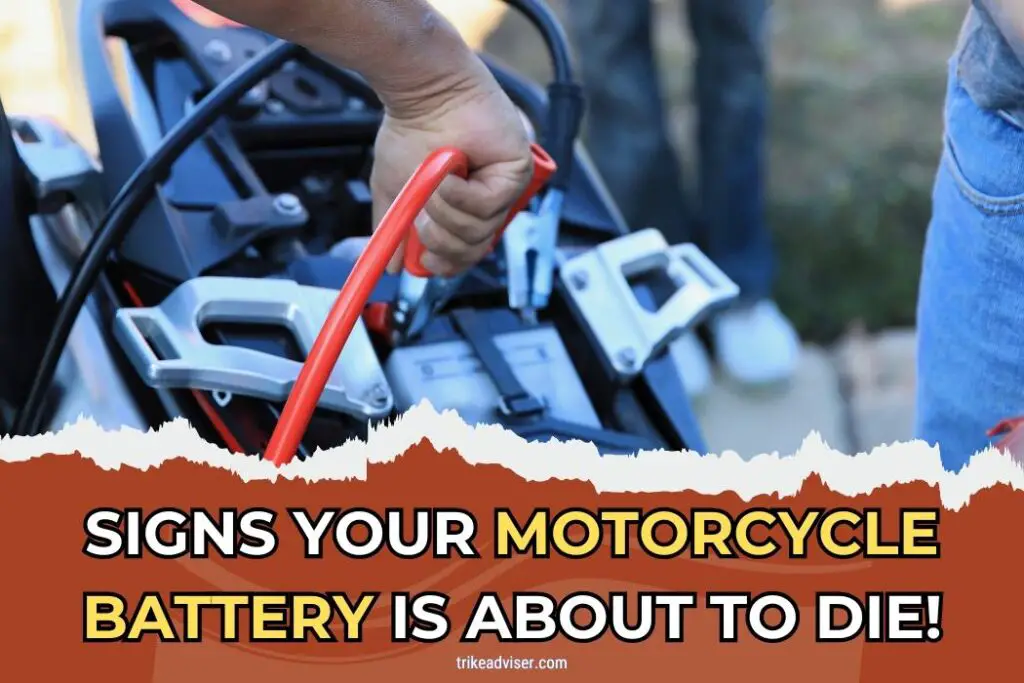
Motorcycle won’t start? It’s a familiar frustration. Often, the culprit is the battery. Not just any part, but the heart of your ride. Without it, you’re stuck. It’s that simple.
Here’s how to tell if your battery is on its last leg. First, does your bike struggle to start? That slow, sluggish crank isn’t just annoying. It’s a red flag. Check your lights and horn too. Are they dim or weak? That’s sign number two.
Sign three involves the battery age. Is yours over three years old? Time ticks differently for batteries. Past three years, be wary. Also, have you noticed more frequent jump-starts?
That’s the fourth warning. Lastly, check for corrosion. Any white or blue residue? That’s the fifth sign. Keep these in mind, and avoid getting stranded.
5 Signs Your Motorcycle Battery is About to Die!

Engine Won’t Crank
A bad battery won’t crank the engine. It shows you have insufficient power for ignition. Picture this: you turn the key; the engine groans but doesn’t start.
It’s more than a nuisance. It’s a signal your motorcycle’s battery might be failing. Why does this matter? A non-responsive bike can ruin your day or worse, leave you stranded.
Battery Self-Discharges Quickly
Is your battery losing charge faster than usual? This isn’t normal. Rapid loss of charge signifies a battery nearing its end. Consider this: a healthy battery holds a charge well.
When it doesn’t, it’s often because it can no longer store power effectively. This deterioration impacts not just the battery’s efficiency but also its reliability.
Battery Has Become Swollen
Notice any bulging or swelling of your battery? That’s a swollen battery, often due to overheating. Inside, a bad cell can expand, causing this distortion.
This isn’t just an aesthetic issue—it’s a serious safety risk. Swollen batteries can lead to leaks or even bursts. If you spot this, prioritize replacing your battery to avoid potential damage.
Battery Shuts Itself Off
Does your battery shut off intermittently? This frustrating inconsistency often points to internal faults. A bad weld or poor connection can interrupt the power supply.
Each shutdown is a clue that your battery’s reliability is compromised. Don’t overlook this. Frequent power losses can be more than inconvenient—they can be hazardous while riding.
Battery Won’t Take a Charge
Does your battery refuse to charge? Even with a smart charger? This is a definitive sign of a failing battery. Here’s the deal: a functioning battery should respond well to charging.
When it doesn’t, it often indicates irreversible wear or internal damage. If charging doesn’t help, replacement becomes necessary. This ensures your ride remains ready and safe.
Preventative Maintenance for Motorcycle Batteries
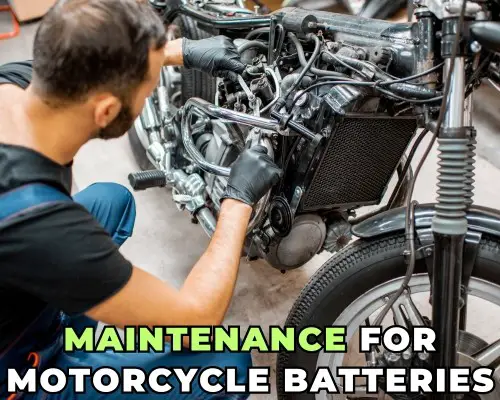
Keeping up a bike battery goes past basic errands; it’s almost guaranteeing your opportunity on the street. Let’s jump into a few master procedures to keep the pulse of your bicycle in prime condition.
Regular Battery Inspection and Maintenance Tips
Regular checks can save your day. Ever glanced at your battery and noticed something off? That’s your cue to act. Here’s what seasoned riders do:
- Frequently assess the battery for signs of wear or harm such as a swollen case or eroded terminals. These are not fair ruddy banners; they are a call to activity.
- Monitor the electrolyte levels closely. If they’re low, top them up with distilled water, but never overfill.
- Ensure the battery caps are secure. A loose cap is a small issue that can lead to big problems, like acid leaks.
- Protect your battery from the extremes. If you ride in very hot or cold conditions, consider insulating your battery. A simple insulation blanket can ward off the effects of temperature fluctuations.
How to Clean Battery Terminals Properly
Think of cleaning your battery terminals as a health check-up. Neglect here can lead to major bike blues. Here’s how to do it right:
- To begin with, detach the battery terminals, beginning with the negative to avoid any electrical brief.
- Utilize a battery terminal brush or a blend of heating pop and water to scour off erosion. This isn’t around aesthetics; it guarantees your bicycle begins easily.
- Rinse the area with clean water and dry thoroughly. Any moisture can cause new corrosion.
- Apply a coat of petroleum jelly or dielectric grease to the terminals. This is like sunscreen for your battery; it blocks out harmful elements.
- Regularly check and clean the area around the battery. A clean battery compartment helps prevent accidental shorts and maintains airflow to keep the battery cool.
The Importance of Keeping Your Battery Charged
A charged battery is a happy battery. Like keeping your body hydrated, keeping your battery charged is essential for its health and longevity.
- Charge your battery fully before you first use it, and regularly thereafter. Think of it as feeding your bike’s spirit.
- If you store your bike for the winter, a battery tender is a wise investment. It will apply a small charge when needed, keeping the battery at optimal levels without overcharging.
- Never let your battery discharge completely. A battery discharged below 50% regularly can halve its lifespan.
- Consider the age of your battery. Most batteries have a life expectancy of about 3 to 5 years. If yours is aging, more frequent checks and charges are prudent.
By treating your motorcycle battery with a bit of care and regular attention, you ensure not just longer battery life but more reliable rides.
Remember, the effort you put into maintenance pays off in uninterrupted adventures on the road.
Choosing the Right Battery for Your Motorcycle
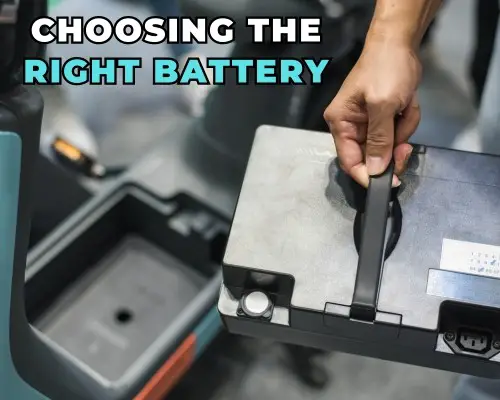
Selecting the proper battery for your bike isn’t a specialized choice; it’s a commitment to your bike’s heart and soul. Let’s dive more profound into the sorts of motorcycle batteries accessible and investigate what you ought to hunt for when acquiring, them to guarantee you make the leading choice for your riding way of life.
Types of Motorcycle Batteries
- Conventional Batteries (Lead Acid)
These are the stalwarts of cruiser batteries, much like a trusted ancient companion who’s continuously prepared to assist. Dependable and prudent, they’ve fueled eras of bicycles. - Gel Batteries
Think of gel batteries as the off-road champions. Their robust nature makes them suited for tougher rides.
Their technology allows them to resist vibrations better, making them ideal for adventure seekers.
- Lithium-Ion Batteries
These are the sports cars of motorcycle batteries. Compact, lightweight, and with high energy efficiency, they represent the cutting edge in battery technology. Perfect for those who crave the best performance and don’t mind investing in quality. - AGM (Absorbent Glass Mat) Batteries
AGM batteries are just like the all-weather tires of the battery world. They perform dependably beneath nearly any condition, which makes them an incredible choice for riders who do not let a small awful climate halt them.
What to Look for When Buying a New Motorcycle Battery
When you’re ready to buy a new battery, it’s like setting up your bike for a long journey. You want everything to be just right:
- Dimensions: The battery must fit like a glove. A snug fit keeps it secure and vibration-free, which can extend its life. It’s a simple check that can save a lot of hassle.
- Terminal Placement: This might seem like a small detail, but it’s like making sure your shoes fit properly before a marathon.
Correct terminal alignment ensures a smooth connection and prevents potential electrical mishaps.
- Cold Cranking Amps (CCA): If you live in a cooler climate, or if you ride early in the morning, this is like having a good strong coffee to start your day. A higher CCA means your bike starts quickly and reliably, even when it’s chilly out.
- Battery Type: Each battery type comes with its own set of features. It’s about balancing what you need with what you can afford.
Are you a weekend warrior or a daily commuter? Do you ride long distances or short hops? Understanding your riding habits can help you pick the perfect battery type.
Choosing the correct battery for your cruiser is more than fair picking a portion; it’s approximately understanding your bike’s needs and coordinating them together with your way of life.
By considering these nitty-gritty components, you guarantee your bike is continuously prepared to go with you on your following experience, dependably and securely.
How to Properly Charge a Motorcycle Battery
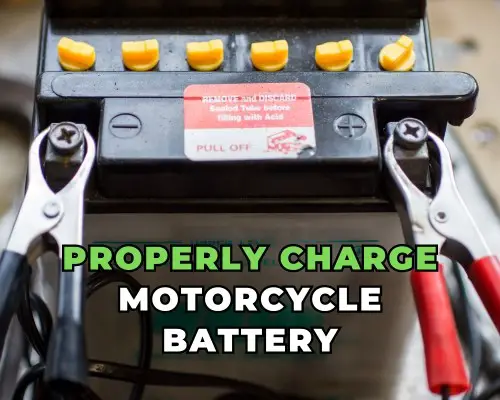
Charging your cruiser battery accurately isn’t a scheduled errand; it’s a fundamental custom that keeps the heart of your bike beating solid.
Here’s a nitty-gritty, master direct to guarantee you are doing it right and amplify your battery’s life.
Step-by-Step Guide to Charging Your Motorcycle Battery
Locate the Battery:
Finding the battery might appear clear, but like seeking out the little black dress in a swarmed closet, it must be drawn nearer accurately.
It’s usually under the seat or behind a panel. When in doubt, consult your owner’s manual—it’s your best guide.
Connect the Charger:
- Terminal Connections: Just like connecting the right puzzle pieces, attach the charger’s positive (red) lead to the positive terminal and the negative (black) lead to the negative terminal of the battery.
A secure connection here prevents sparks and potential shorts, which are as dangerous as they sound.
- Power On: Plug in the charger and switch it on. If your charger has modes, select the appropriate one. This isn’t just a step; it’s ensuring you’re feeding your battery the right energy dose.
Monitoring the Charging Process:
- Keep a vigilant eye on the charger, akin to watching over a simmering pot. Watch for any signs of malfunction, like excessive heat or unusual noises, which can be as alarming as smoke from your oven.
- Charging Time: Patience is paramount. A fully discharged battery might need several hours to recharge, much like slow-roasting a perfect brisket. Rushing with a higher amperage can prematurely age your battery.
Completing the Charge:
- Disconnecting: Safety first—unplug the charger from the power source first, then remove the clamps, starting with the positive.
This sequence is as crucial as untying your apron before leaving the kitchen—it prevents accidents.
Choosing the Right Charger for Your Battery
Choosing the right charger is not unlike selecting the right wine to accompany a fine meal—it must complement perfectly.
- Voltage Compatibility: Check that the charger’s voltage matches your battery (regularly 12V or 6V).
This isn’t fair coordinating numbers; it’s maintaining a strategic distance from potential harm, like making beyond any doubt you do not utilize a whitewater rafting paddle to push a sensitive canoe.
- Amp Rating: The amperage should suit your battery’s capacity. It’s about finding balance, much like not overpowering a delicate fish with too strong a sauce. Too much can overcharge and damage the battery.
- Battery Type Compatibility: Coordinate the charger to your sort of battery—lead-acid, gel, retained glass tangle, or lithium-ion.
This isn’t a one-size-fits-all circumstance. It’s approximately customizing care to each battery’s needs, guaranteeing viable and secure charging.
As an Amazon Associate, I earn from qualifying purchases, at no additional cost to you. Read Our Affiliate Disclosure.