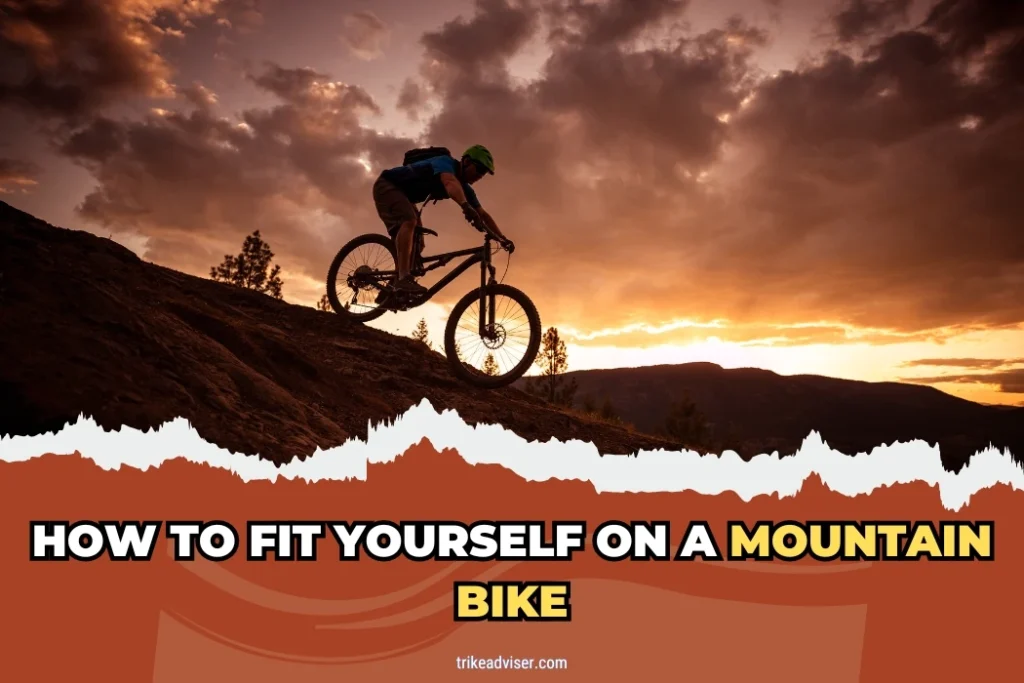

Ever tried fitting on a mountain bike? Sounds simple, but it’s tricky. Many riders face this. You pick a bike. It feels right at first. Yet, after the first trial, discomfort hits. Your back aches. My knees feel weird.
The excitement fades, replaced by frustration. This isn’t about just picking any bike. It’s about finding your perfect fit. The difference? Night and day. A well-fitted bike transforms rides from painful to exhilarating.
It’s not just about the bike’s size. It’s the setup, the posture, the connection. We’re diving deep into this. Our guide isn’t mere advice. It’s the key to unlocking your best rides. Forget the one-size-fits-all myth.
6 Tips to Fit Yourself on a Mountain Bike
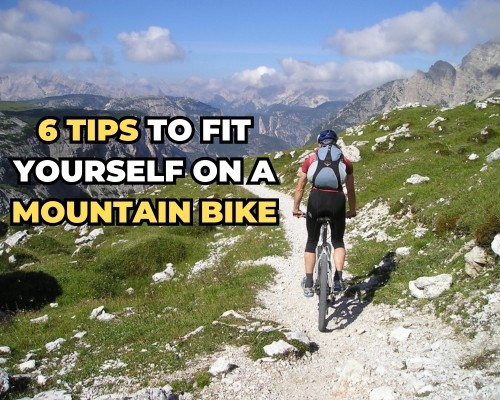
Securing the right fit on a mountain bike transforms a good ride into an extraordinary adventure. Let’s enrich our earlier guidance with more depth, personal insights, and expert tips.
Mountain Bike Frame Size
- The Foundation of Your Ride
Think you’ve found your size? Don’t stop there. A test ride reveals more than static measurements ever could. Remember my first long ride? Thought the bike fit was spot-on. Twenty miles in, my back disagreed. Adjustments were needed.
- Safety First with Stand-over Height
Ever had a close call, needing to stop suddenly on a trail? That’s when stand-over height proves its worth. It’s not just about ease of dismount; it’s your quick escape route from a potential crash. Always ensure there’s ample clearance.
Handlebar Width
- A Tailored Approach
A friend once told me, “Handlebars are like the bike’s steering wheel.” Too wide, and you’re wrestling. Too narrow, and it’s twitchy. I found my perfect width after experimenting with three different sizes. Each ride taught me something new about control and comfort.
Mountain Bike Geometry
- The Heart of Bike Comfort
I learned the hard way that ignoring reach and stack is like wearing shoes two sizes too big. Sure, you can walk, but it’s awkward. Adjusting these parameters made my bike feel like an extension of myself, not just a ride.
Rider Area Distance (RAD)
- The Magic Measurement
Imagine riding with arms either too stretched or too cramped. I’ve been there. Finding my RAD was a game-changer. It made me feel connected to my bike, enhancing my control on every turn and bump.
Seat Tube Length
- More than Just Numbers
Following the formula for seat tube length gave me a good start. But the real test? Several hours on the saddle. Only then did I realize minor tweaks were needed for perfect alignment and pedaling efficiency.
Seeking Professional Assistance
- Worth Its Weight in Gold
I once thought I could fit my bike perfectly on my own. A session with a professional fitter proved me wrong. They spotted misalignments I’d overlooked and optimized my posture. The result? Improved performance and reduced risk of injury.
How to Adjust the Saddle Height on a Mountain Bike
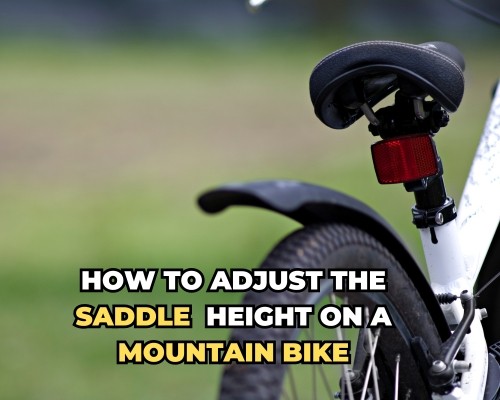
Getting your saddle height just right is akin to finding the perfect pair of shoes: once everything fits, the journey ahead is promising. This isn’t about arbitrary numbers; it’s about feeling every contour of the road or trail beneath you, understanding the language of your bike, and translating it into longer, more joyful rides.
The Art of Saddle Height Adjustment
- The Right Height: More Than Just Measurements
Setting your saddle to its maximum height for extended pedaling is crucial. Think back to a time when, mid-ride, you realized something was off. Your legs strained, your rhythm lost. That’s your bike alerting you to the need for adjustments. The goal is to harmonize the geometry of the bike with the inherent biomechanics of your body.
- Saddle Angle: A Personal Touch
Adjusting your saddle’s angle can feel like tuning a musical instrument. A slight tilt can lead to a symphony of comfort. I once spent an entire afternoon adjusting mine by fractions of degrees, discovering how each minor change affected my ride. Secure those bolts; a shifting saddle is like playing out of tune.
Fine-Tuning for Supreme Comfort
- Finding Your Fore and Aft Position
The fore and aft setting is your secret weapon for comfort and power. Slide your saddle to find that position where effort turns into speed with ease. It’s an intimate dance with your bike, finding that spot where everything clicks.
- The Heel Technique: Simplicity Meets Accuracy
Here’s a tale: On my first big ride with a new bike, I ignored the heel method, thinking my years of experience were enough. The result? An awkward, inefficient pedaling style that took miles off my ride and added aches to my body. This simple technique, ensuring your leg is just straight when your heel is on the pedal, is the cornerstone of a well-fitted saddle height.
Avoiding the Pitfalls: Too High or Too Low
- A Cautionary Note on Saddle Height
Riding with your saddle too high is a quick path to discomfort. I learned this the hard way on a long descent, my hips swaying like a ship in a storm, leading to days off the bike nursing soreness. Too low, and your knees pay the price, bearing the brunt of your ambition.
Personalization: The Dropper Post Technique
- Embracing the Dropper Post
The dropper post changed how we ride, but knowing your perfect saddle height remains vital. Mark it. I’ve seen riders overlook this, only to fumble with adjustments mid-ride. A small piece of tape can be your best friend, a reminder of your sweet spot in the heat of the ride.
The Final Adjustments: Shoes and Symmetry
- Shoes: The Foundation of Your Fit
Never underestimate the impact of your footwear on saddle height. Switching from flats to clips can shift your needs subtly but significantly. After a particularly grueling ride that left me questioning my setup, I realized my new shoes were the culprits. A slight saddle adjustment was all it took to restore harmony.
- Balancing Act: Catering to Your Unique Physiology
We’re not symmetrical. Most of us favor one side, leading to slight discrepancies in leg length or strength. Adjust your saddle height with this in mind. Find the balance that prevents you from leaning, ensuring your power is evenly distributed. It’s like finding the right tension in a string, where everything sings in unison.
Customizing Your Fit: Rider Area Distance (RAD) and Beyond
Tuning your mountain bike to fit like a glove is an art as much as it is a science. It’s about blending measurements with the feel of the trail beneath your wheels. Let’s enrich our earlier exploration with deeper insights and a touch more personal experience.
Fine-Tuning RAD for Precision Control
- Discovering Your Unique RAD: Imagine this: two riders, identical heights, vastly different RADs. Why? Because RAD isn’t just about height. It’s about arm and leg length, torso size, and even how your hands feel on the bars. I recall adjusting a friend’s bike based on a generic chart. One ride later, he was back, puzzled by discomfort. We tweaked his RAD, shortening it slightly despite the chart’s recommendation. Suddenly, his ride was transformed. Comfort and control were no longer at odds.
- Influential Factors: Your optimal RAD is a symphony of elements—handlebar width, crank length, pedal, and shoe thickness. Each requires attention to detail. For instance, changing from slim race shoes to bulkier trail shoes might nudge your RAD a few millimeters. It’s these nuances that refine your ride.
Terrain-Specific Adjustments
- Molding RAD to the Trail: Terrain dictates your RAD adjustments. A setup perfect for the serenity of fire roads can falter in the technical demands of a rocky descent.
- Adapting for Technicality: On a technical trail, a slightly shorter RAD gives you the leverage for quick, assertive maneuvers. Envision yourself navigating a tangle of roots and rocks; a tiny RAD provides precision push, pull, and turning ability.
- Flowing Trails Demand Stability: Conversely, open, fast trails where speed is king benefit from a longer RAD. Stability at speed is the goal, making every sweeping turn smoother, and every straightaway faster.
Beyond RAD: Holistic Bike Customization
Handlebar Width: A Tale of Comfort and Control
Too wide, and your shoulders ache; too narrow, and you’re twitchy, overcorrecting at every turn. I learned the hard way during an endurance race. Midway, my shoulders screamed in protest. Post-race, I experimented, cutting my bars down bit by bit until I found relief. The lesson? Handlebar width is deeply personal.
Crank Length: The Quest for the Perfect Stroke
Choosing the right crank length is a quest for the perfect pedal stroke. Too long, and your knees complain; too short, and you feel you’re spinning to nowhere. A friend, plagued by knee pain, switched to shorter cranks on a whim. The pain vanished like a morning mist. It was a revelation: sometimes, the smallest changes have the most profound effects.
Pedal Thickness and Frame Adjustments: The Fine Tuning
Pedal thickness might seem minor until you realize it shifts your entire position. Like finding the right pillow for a good night’s sleep, the right pedal thickness aligns your stroke just so. And when the frame size isn’t perfect, reach and stack adjustments are your allies, transforming an awkward ride into a tailored experience.
RAAD: The Angle of Attack
Adjusting your RAAD fine-tunes how you engage with your bike, much like adjusting your stance in a sprint. It’s about positioning yourself for maximum efficiency, whether climbing steep hills or descending at speed.
What are the recommended sag settings for different types of terrain?

Adjusting your bike’s sag settings isn’t just about tweaking numbers; it’s about crafting your ride’s soul for every challenge the trail throws at you. Let’s enrich our journey into sag settings with deeper insights, more personal anecdotes, and tailored advice for conquering diverse terrains.
Rocky Terrain: You’re Suspension, Your Shield
Soft Suspension: The Art of Absorption
- Beyond the Basics: In the rocky labyrinth, your suspension is your shield. A soft setting, around 30-35% sag, not only absorbs shocks but also increases tire contact with the ground, crucial for navigating through treacherous rocky patches.
- The Real-World Impact: I recall a day when the trail was littered with unforgiving rocks. My bike seemed to glide above the mayhem after I adjusted to a softer suspension, giving me a level of control I had never experienced before. It seemed like the bike and I were dancing over challenges that had previously been insurmountable.
Rooty Terrain: Precision over Peril
Firm but Forgiving: Navigating Nature’s Net
- Advanced Tip: On a trail veined with roots, a slightly firmer setting of 25-30% sag helps maintain a delicate balance between traction and responsiveness. It’s about feeling the trail, not fighting it.
- A Lesson Learned: During an encounter with a particularly root-infested trail, I found that a minor adjustment towards a firmer suspension transformed my experience. Suddenly, each root became a part of the ride, not a hurdle. This subtle change made me realize the power of fine-tuning and the direct impact it has on ride quality.
Smooth Trails: The Efficiency Engine
Firm Suspension: Harnessing Momentum
- Diving Deeper: On smooth trails, efficiency is king. A firmer suspension setting, about 20-25% sag, minimizes energy absorption by the bike, allowing for a more direct transfer of power from the rider to the trail. It’s like unlocking a new level of speed and fluidity.
- Personal Triumph: There was a smooth trail that always felt slow, no matter how hard I pedaled. After adjusting my suspension firmer, it was as if I had been given wings. The trail didn’t change, but my interaction with it did, dramatically. That day, I set a personal record, a testament to the power of proper sag settings.
Uphill and Downhill: The Dual Challenge
Customized Comfort vs. Control
- Expert Insight: The ascent and descent demand different philosophies. For aggressive riders, a firmer setup (20-25% sag) sharpens the bike’s reflexes for airtime and technical maneuvers. Yet, casual riders benefit from a softer touch (30-35% sag), cushioning the ride and making each mile more enjoyable.
- Reflections from the Trail: Facing a mountain that offered both grueling ascents and thrilling descents, I found myself adjusting my suspension between segments. The firmer setup for the downhill sections made each jump a joy, each landing confident. Softening the suspension for the climb preserved my energy, making the ride up less daunting. This dynamic adjustment approach highlighted the versatility of sag settings in enhancing the mountain biking experience.
As an Amazon Associate, I earn from qualifying purchases, at no additional cost to you. Read Our Affiliate Disclosure.